I was experimenting with various tools within after effects, and ended up creating a dusty effect and applied it to one of our renders to see how it could work.
Monday, 25 November 2013
Re-Texturing The Bird
We decided to re-texture the bird so it looked more like the concept we created.
Shading Tests


Final Renders


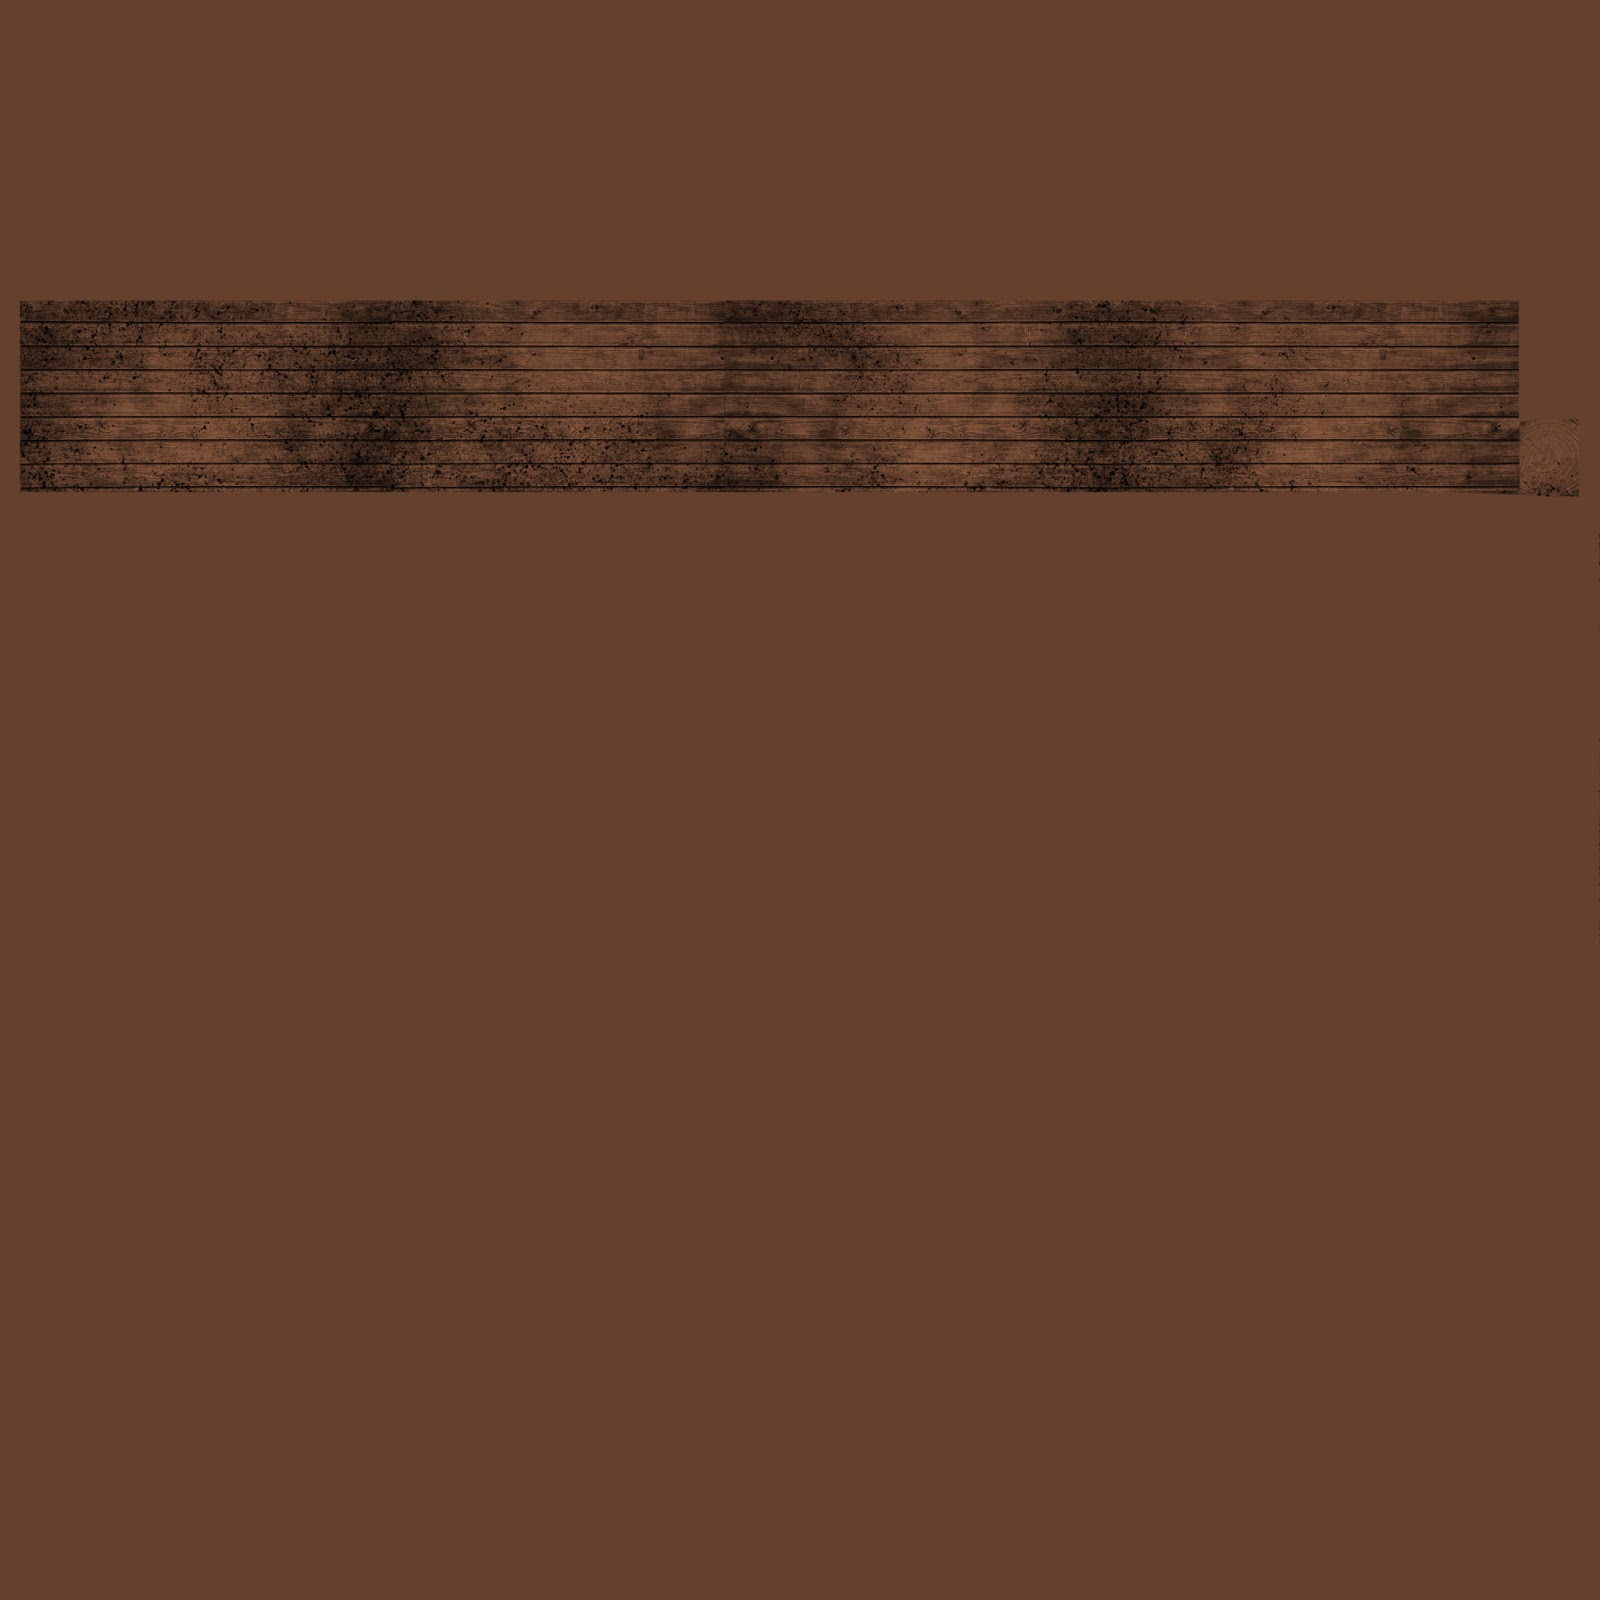
Texture Maps
Legs


Shoulders & Clavicle's


Wings


Spine

.jpg)


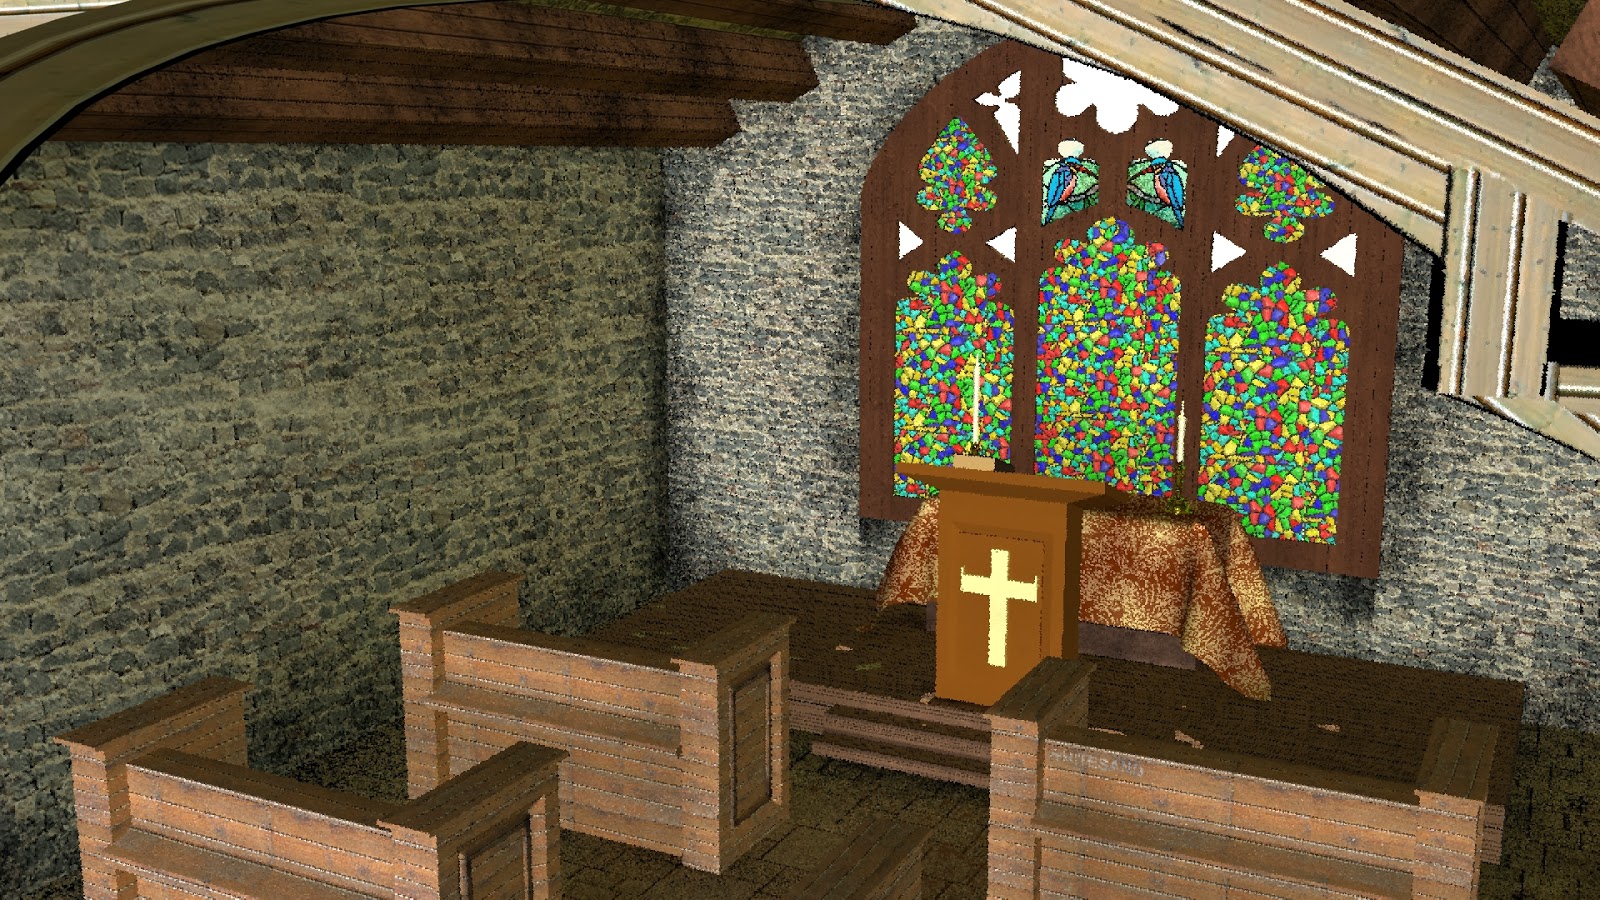
Environment Textures
I originally textured the church with textures that were huge, it made it look like a miniature, this is the "final render" of the huge scene.

I then went back and re-did the textures


Sunday, 24 November 2013


Wednesday, 20 November 2013
Texturing the Bird
For texturing I used mostly shaders. The reasoning behind this was that the arms and legs are too small to actually see any detail of the wood grain.


The UV mapped bird


The final render of the bird.
Subscribe to:
Comments (Atom)